Step 1: Access Your Dashboard
First, log in to your Comfyform dashboard using your credentials. This will be your hub for managing all Comfyform activities.Step 2: Create the Form
In the dashboard, locate and click on the “Create new form” button – you’ll typically find this in the sidebar. A modal will appear where you can name your form.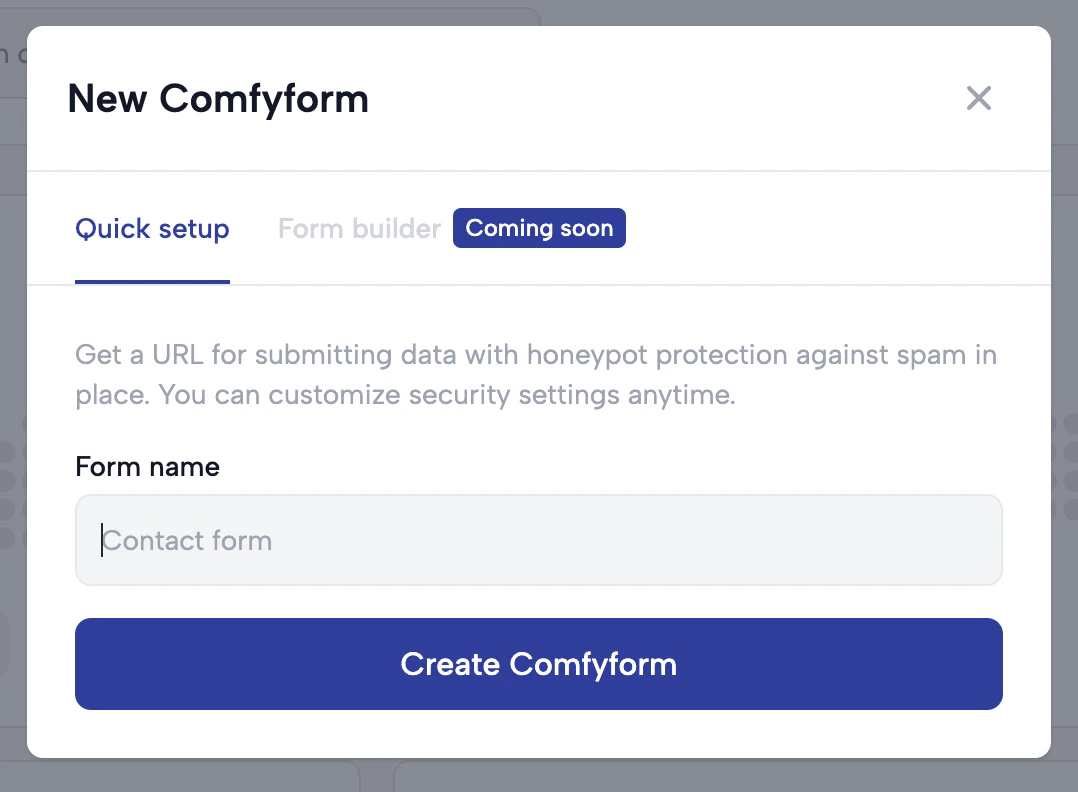
Step 3: Acquire Your Endpoint URL and Code Examples
Upon creating your form, Comfyform provides a versatile suite of code snippets for easy integration. Choose from four ready-to-use code snippets tailored to different needs>- Basic HTML form submission
- HTML form submission with file upload capability
- JavaScript fetch request
- JavaScript fetch request with file upload support
Comfyform Endpoint URLYour endpoint URL should like like this: 
https://api.comfyform.com/s/YOUR_FORM_ID_HERE. You can extract it from the provided code snippets or you can always find it on the form detail page, which you can navigate to by clicking the “Open the form page” button after viewing the code examples after creating the form.Step 4: Configure Your Form (optional)
Even though Comfyform is a backend service, we provide several configurations to improve your form’s functionality. Some of them are available only in the dashboard, you can configure others both in dashboard and in your code (which will has a priority over the dashboard config).- Success and Error Redirects: Specify URLs to redirect users to a custom thank-you page or error page after submission. If you don’t specify any, we’ll show the user an ok page or error page with a link back to your website.
- Email or SMS Notifications: Set up automatic email or SMS alerts to receive notifications as soon as a new form submission is received.
- Webhooks (coming soon): Implement webhooks to send form submission data to your services or backend for additional processing, monitoring, or analytics.
- Integrations: Integrate your form with third-party services like Google Sheets, HubSpot, and many more so you can seamlessly store, receive, or process data there.